 |
| How to build a sewing mannequin. |
Materials:
- ~2 Rolls of Duct Tape (I used about half of a huge roll. I am about a size 4-6/small.)
- Cost: $4.00 from a NYC hardware store
- Scissors (Not your sewing scissors, you want to keep those nice and sharp.)
- A friend to wrap you (or an awesome husband!)
- A large and long t-shirt that you don't mind becoming a part of your new clone (I used a white men's undershirt, size small.)
- Cost: $2.00 from Goodwill
- Plastic Wrap
- Batting/stuffing/filling (I used polyester fill from the nearby fabric store.)
- Cost: $9.00
First Step: Put on the t-shirt and cover the neck area with some plastic wrap. You can secure it with a few pieces of duct tape. If the shirt does not cover enough of your arms or lower area, you can add plastic wrap here as well.

Step 2: Begin wrapping the duct tape around the bottom of the shirt. Leave about half an inch of plastic wrap or t-shirt at the bottom to give you room to work. Be sure that you overlap the ends of the tape when you bring them around.


Step 3: Continue upwards until you reach just under the bust. Once there, cover each breast with a star shaped pattern of tape. Then, bring a long strip of tape diagonally from the top of one shoulder to the tape that is just under the breast. Do this for each shoulder. This will help to define your curves. (Note: My partner actually forgot this step, but mine turned out fine.)

Step 4: Begin to tape vertically over the shoulders, from the back to the top of the breast stars. Once you have some wide "straps", begin covering the rest of the area, minus the sleeves and neck, however needed to cover the shirt in tape. Pay attention to the curves and make sure you are using the tape to highlight them, not hide them.
Now is also a good time to take a permanent marker and place a small dot where your belly button is. This will help you when you are making clothes on your clone. You will be able to judge better where your new clothes will rest on you when finished.
Step 5: Cover the arms and neck. Begin with the arms. (Hold out the arms a bit away from the body. This will make working with the mannequin much easier once finished.) Tape them firstly using vertical strips. Go from the shoulder tape to near the end of the shirt or plastic wrap. Be sure you don't tape the arms themselves! Your partner will not thank you when it comes time to remove it. Once you have the vertical tape, wrap another layer of tape horizontally. The vertical strips will help to keep the shape of the arms while preventing the cut off of blood flow to the arms. Your partner will appreciate this.
Once the arms are done, finish up the neck area. You want to be careful here as well. Look out for any stray hairs that may get stuck in the tape. You don't need to go too far up the neck, just enough to get the shape. You will be adding more to it later.

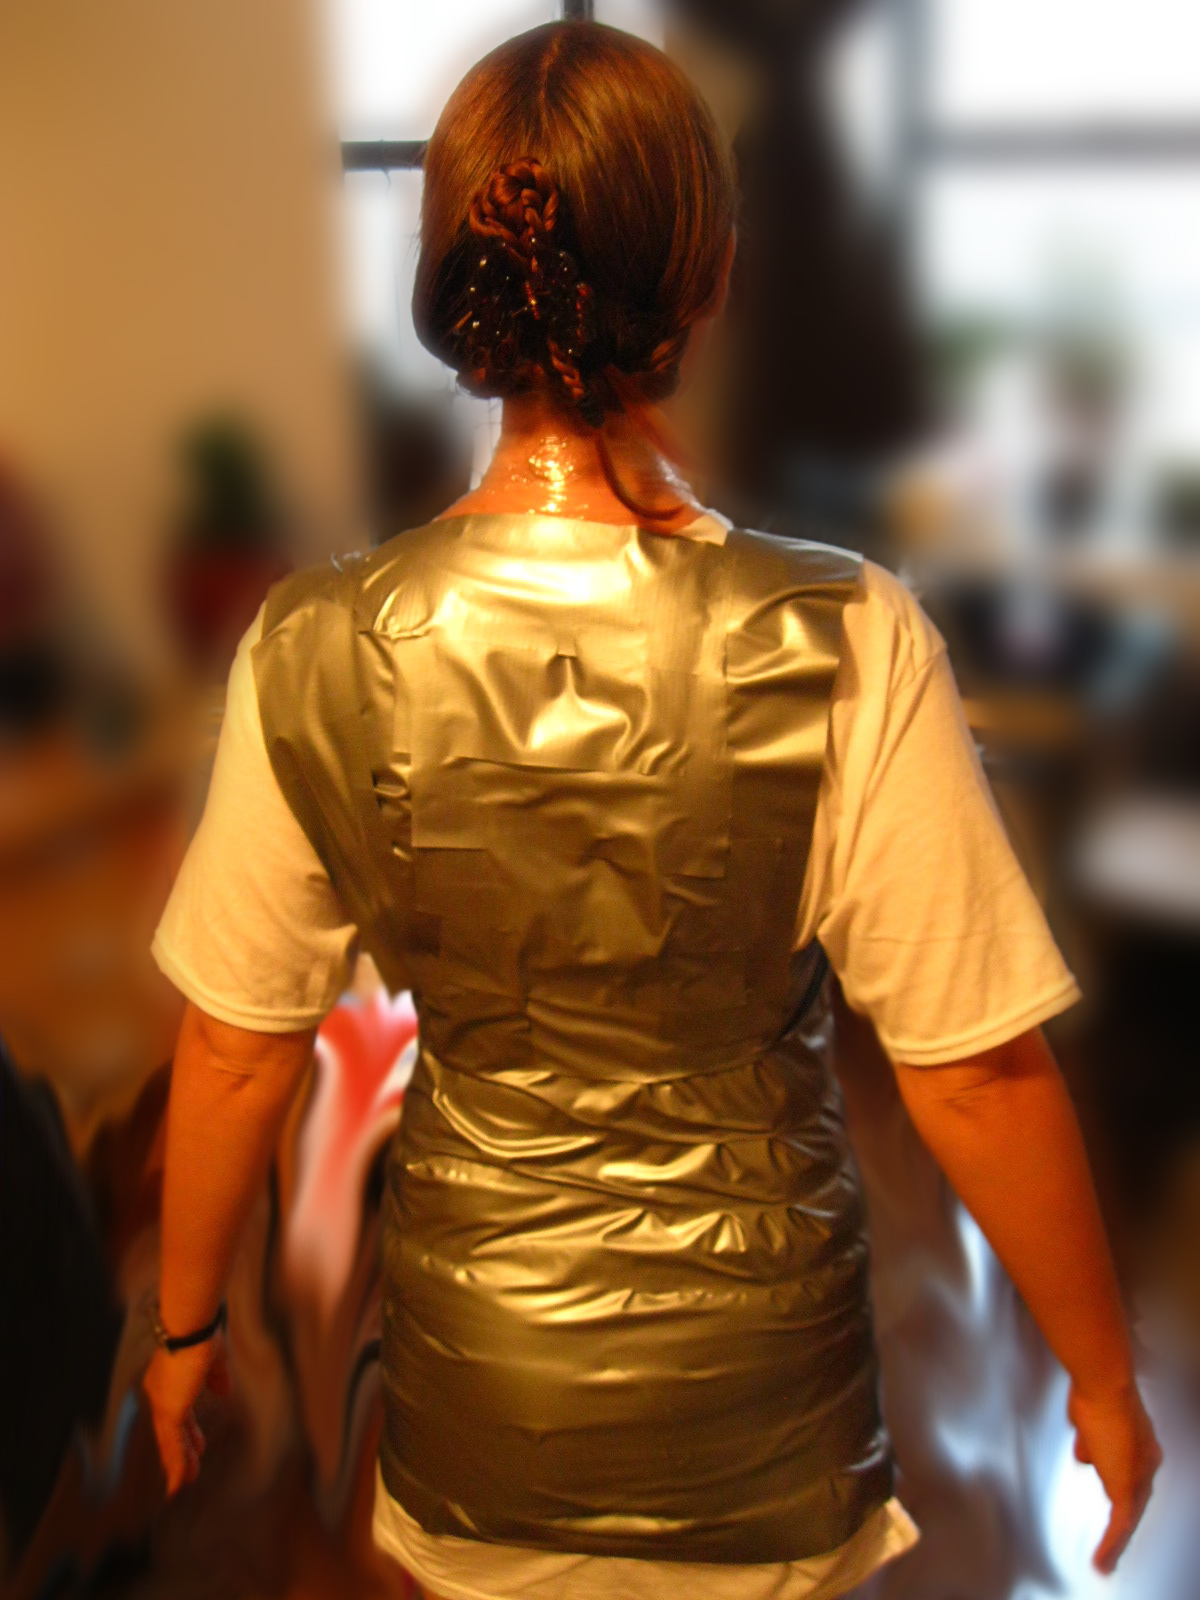
 |
| At this point I felt a bit like a robot. |
Step 6: Very carefully cut off the clone. To do this, simply make one long cut all the way up the middle of the back. Watch out for skin, panties, and the bra strap. You really don't want to cut any of those!
Slip out of the clone and put your clothes back on. You may also need to use the bathroom at this point, depending on how long that all just took!
Step 7: Tape up the back of your clone using a long, vertical strip of tape. You will be reinforcing this later.
Step 8: Now you will be filling your clone with fill/stuffing. I found that it was easiest to do this with the clone upside down.
To begin with, I covered the neck area with tape to close it shut nicely. You can shape it better once it is filled. This just keeps the stuffing inside of the clone while you work. Begin filling your clone with stuffing, pushing it down and keeping the shape as you go.
Once you fill the arms, you can place a couple strips of tape over them as well to keep everything in place and shape.
Continue stuffing until your clone is full. Make sure that you did not overstuff. Now is a good time to check the measurements; before you tape her up for good. If they are about the same, (they don't need to match perfectly, but closely), you can close her on up by taping up the bottom. Then you can go back and fix the other openings. You can also secure the back strip of tape by covering it with small, horizontal pieces along the back.
Note: Before you close it up, you may want to insert some sort of stand. You can use whatever works, such as a lamp or microphone stand. (I didn't have anything at the time, so I haven't done this yet.) Place the stand inside of the clone, (from the bottom opening), make sure the height matches yours, and then secure with tape and close her up. This will make things much easier for you when you work with your clone.
Finally, stand back and admire your work!


 |
| A finished sewing mannequin! |
Be sure to thank your friend and help them to complete their own clone!
Nice! I thought about doing this myself a few years back before I got my dress form. In a few ways this would be superior to the factory made dress forms since it's a copy of your own body, but Betty (yes, I named my dress form) has been awesome so far. You might want to also make a fabric cover for this, because I've heard the duct tape can peel up and transfer adhesive to your sewing projects! Since you're so small maybe a pair of plus size pantyhose might fit nice and snug over it - obviously you'd have to cut holes for the arms though. Okay, enough rambling from me here, lol. Awesome project and really neat to see it done!
ReplyDelete